Enclosure & Case
The IARC v3 case holds the OPS243-A, the sound sensor, the angle radar, the monitor, and the Raspberry Pi in one printed assembly.
STL, STEP, and 3MF files live in
cad/IARC_case/
in the repository.
Fasteners: 10 × M5 bolts, 12 × M2.5 bolts.
K-LD7 mounts are for deprecated hardware
The KLD7 mounts in this case are for the deprecated K-LD7 angle radars. OpenFlight has moved to the TI IWR6843. Skip the KLD7 mount steps for a new build.
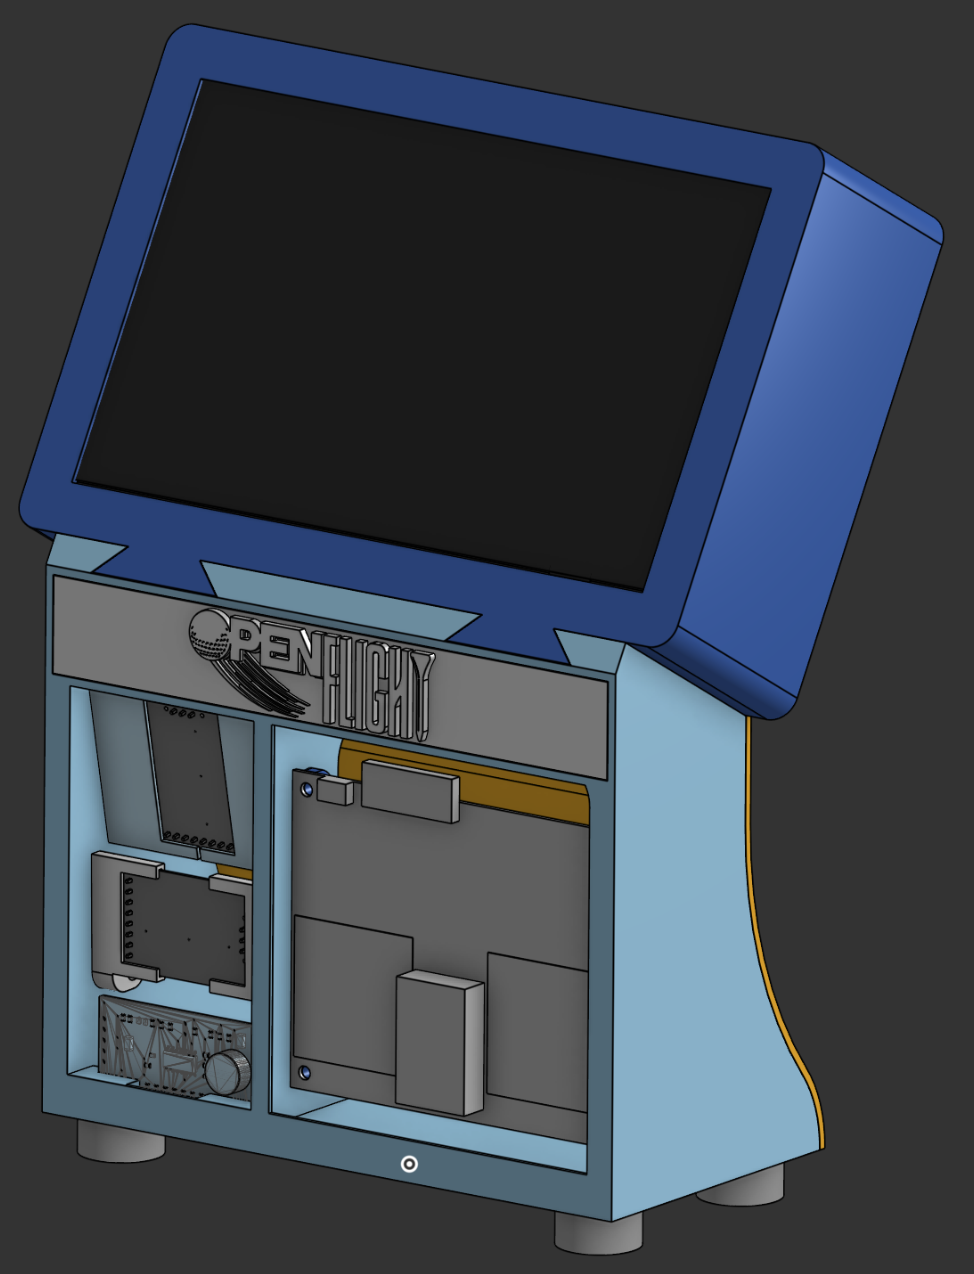
Assembly
- Print out
sensor_housing.stl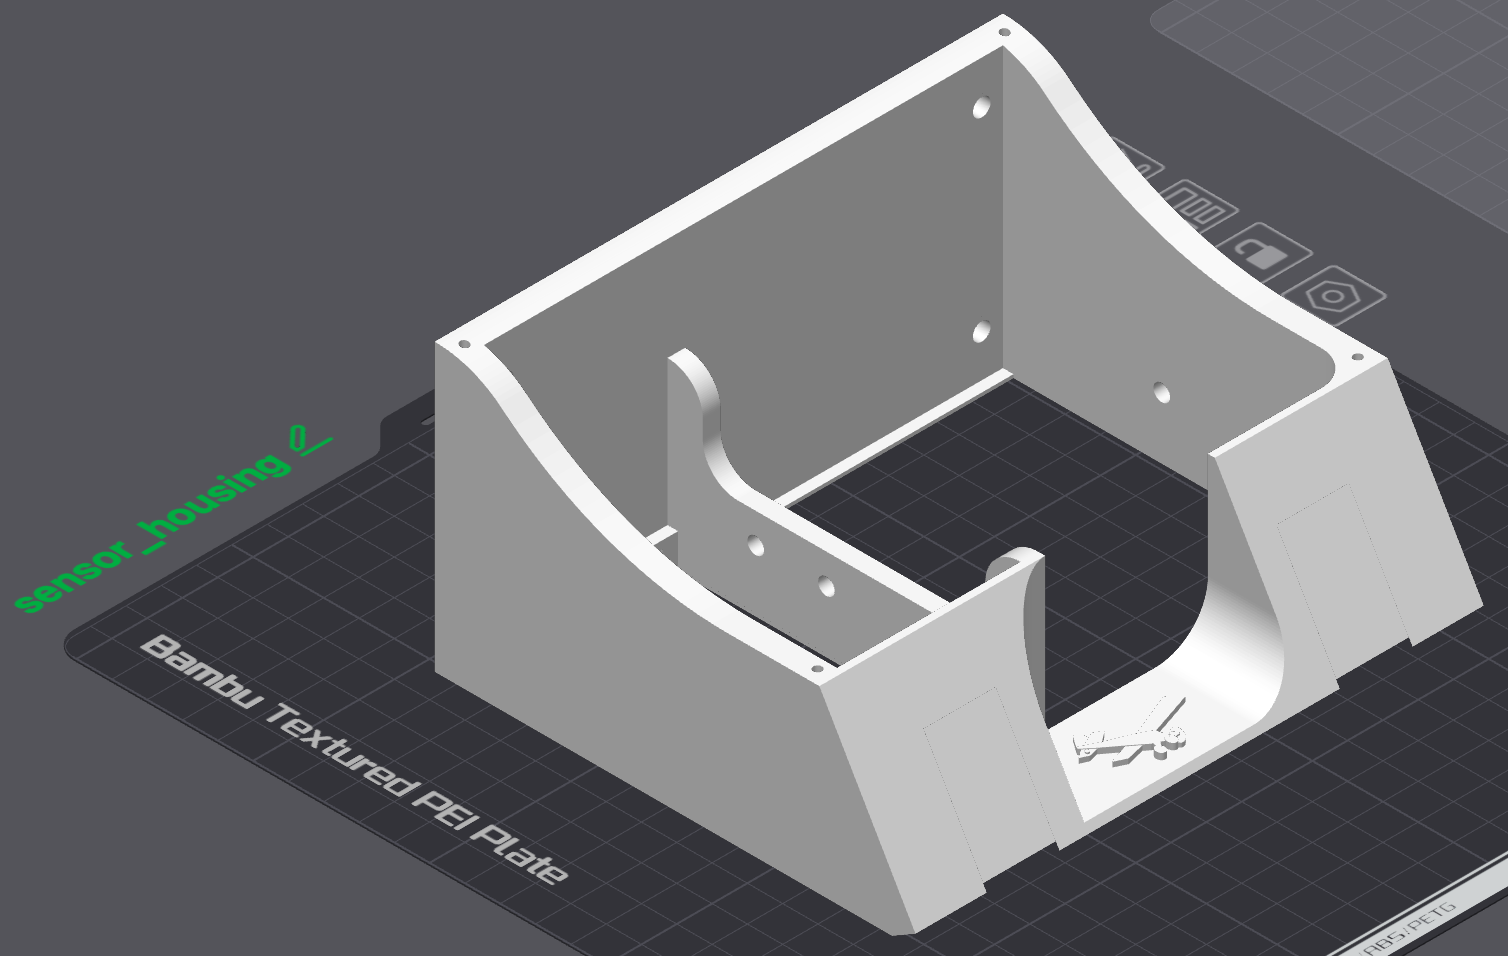
- Print out (2x)
OPS_mount.stl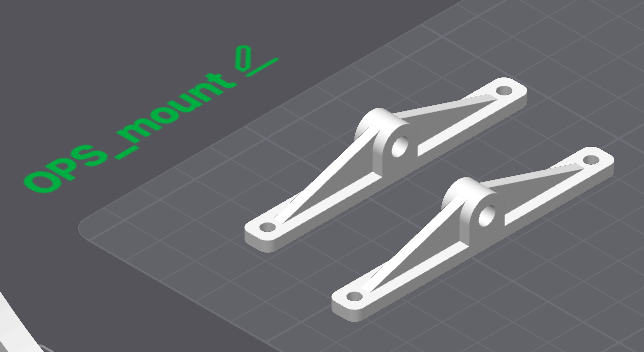
- Secure the OPS sensor to each
OPS_mount.stlpart with screws (I don't know which ones) - Secure the
OPS_mount.stlparts to thesensor_housing.stlpart with (2x) M5 bolt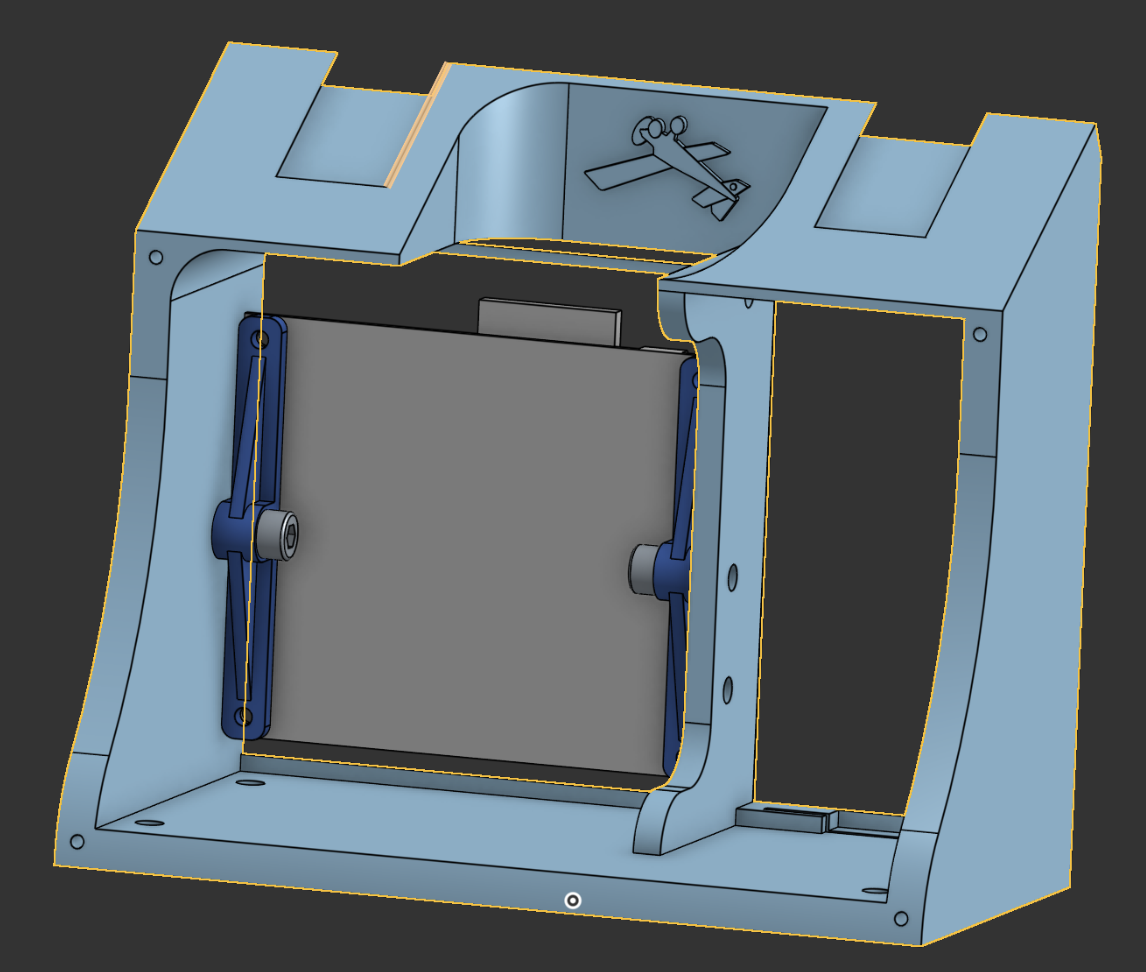
- Fit the sound sensor into the little slot on the left side of the
sensor_housing.stlpart.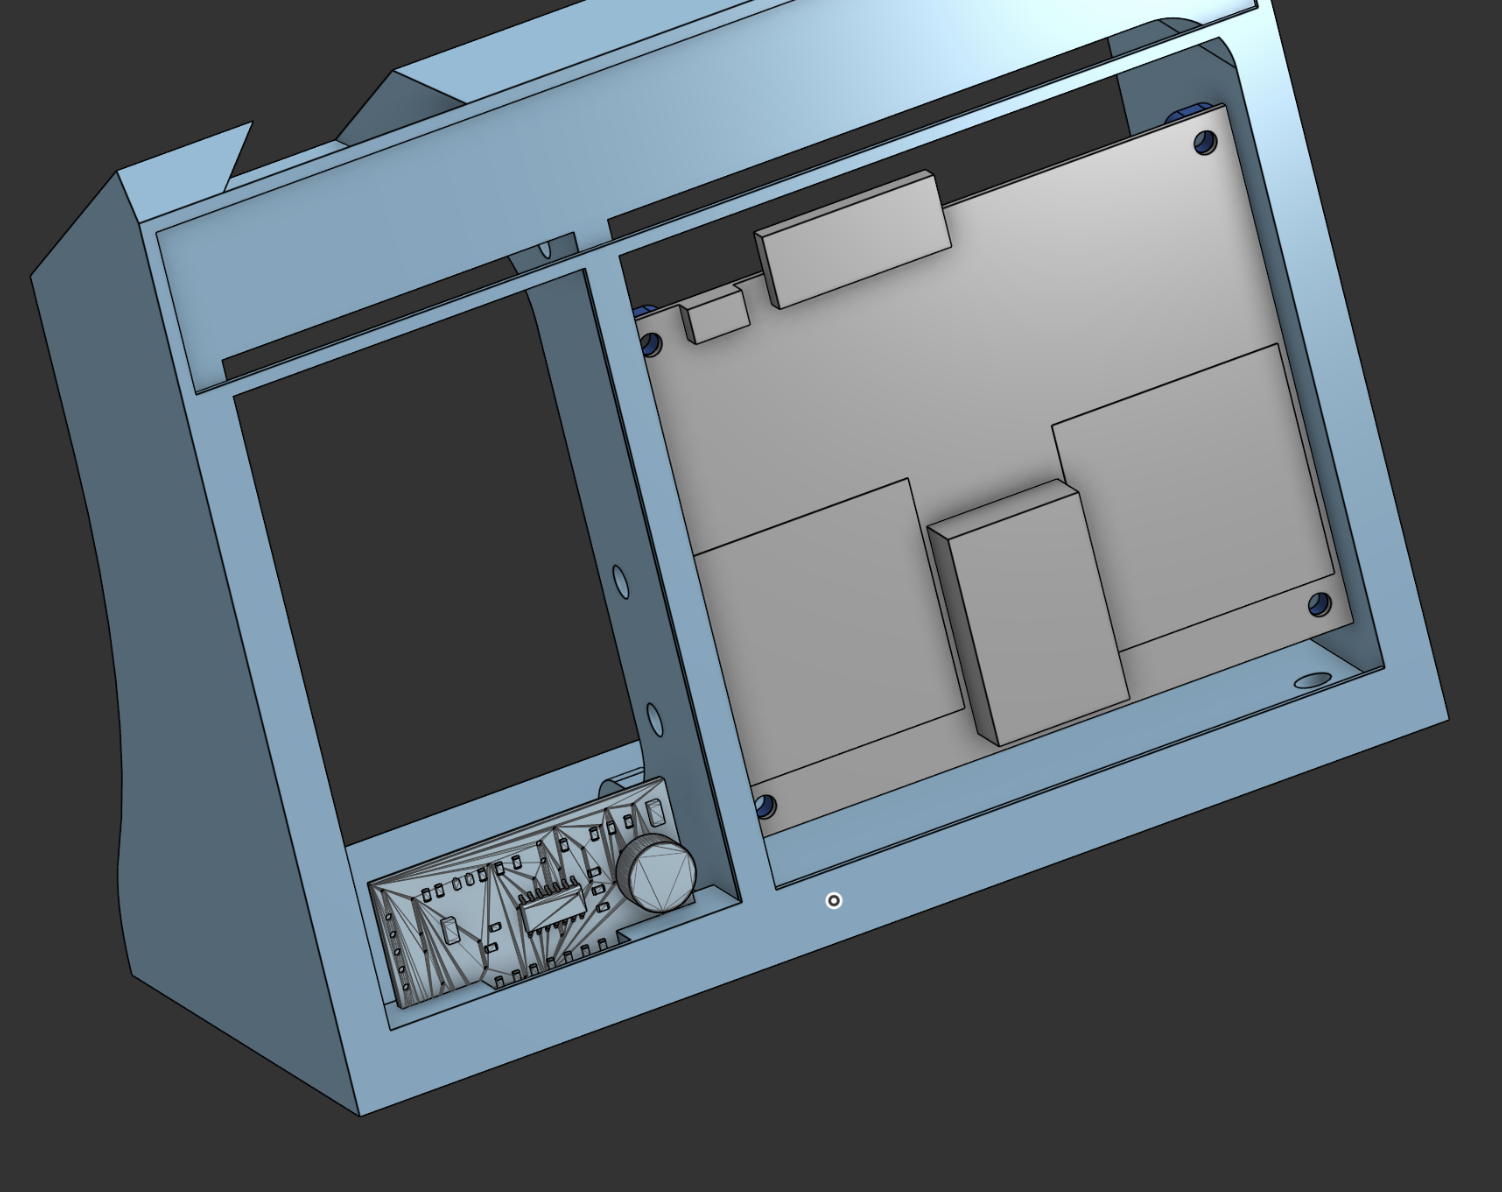
- Print out (1x)
KLD7_h_mount_L_v2.stland (1x)KLD7_h_mount_R_v2.stl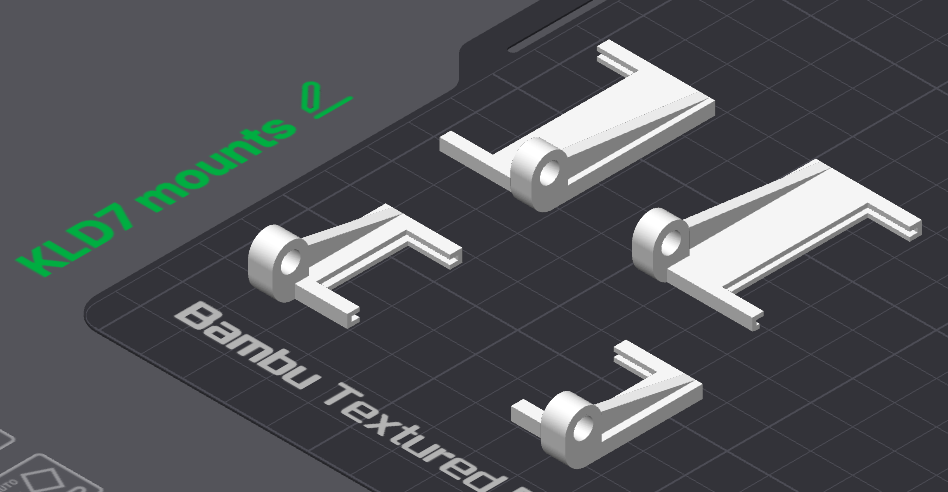
- Slot a KLD7 sensor between the mount parts, and secure them to the
sensor_housing.stlpart with (2x) M5 bolt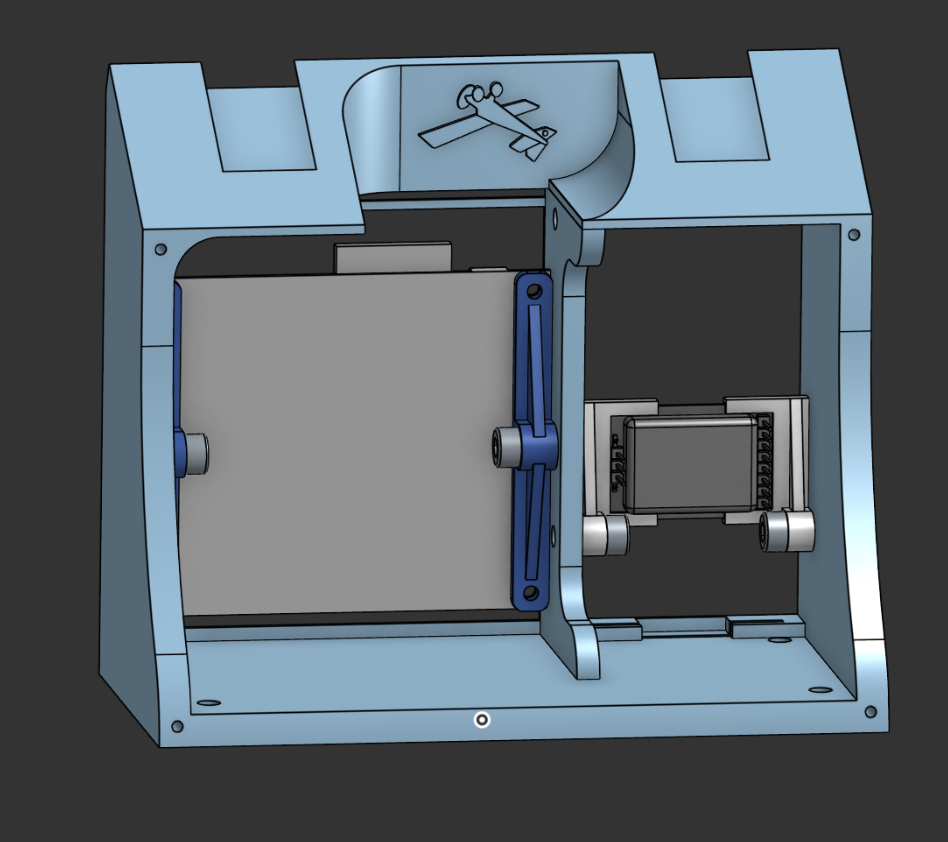
- Print out (1x)
KLD7_v_mount_L_v2.stland (1x)KLD7_v_mount_R_v2.stl - Slot a KLD7 sensor between the mount parts, and secure them to the
sensor_housing.stlpart with (2x) M5 bolt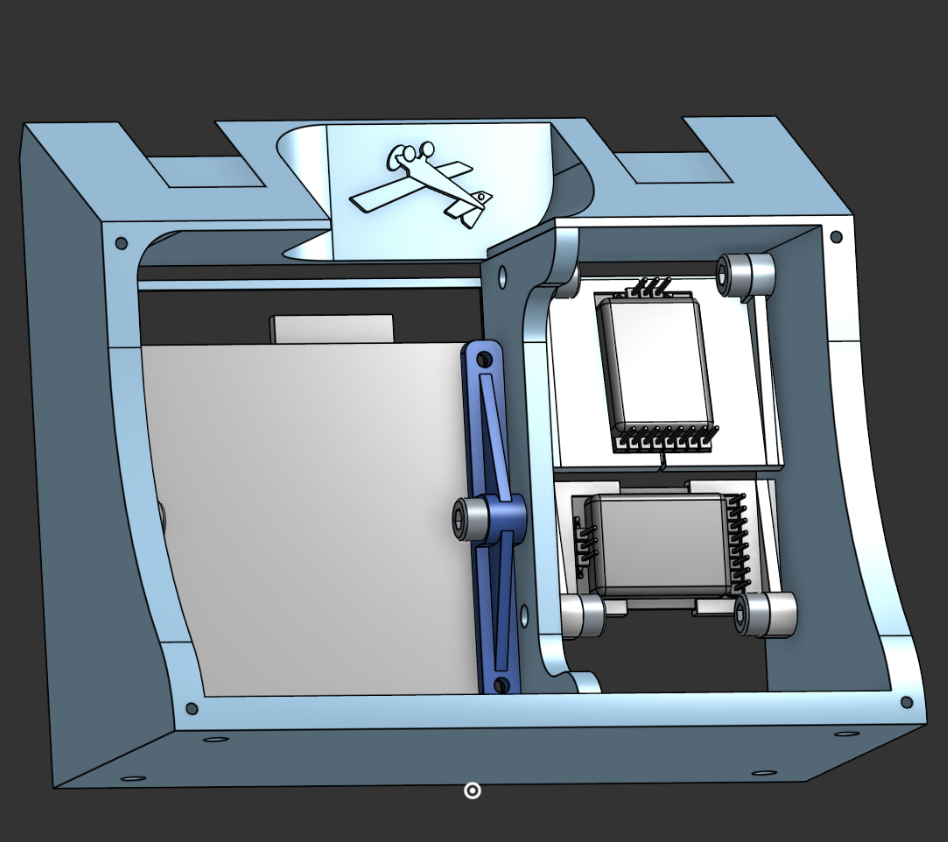
- Print out the
monitor_mount.stlpart.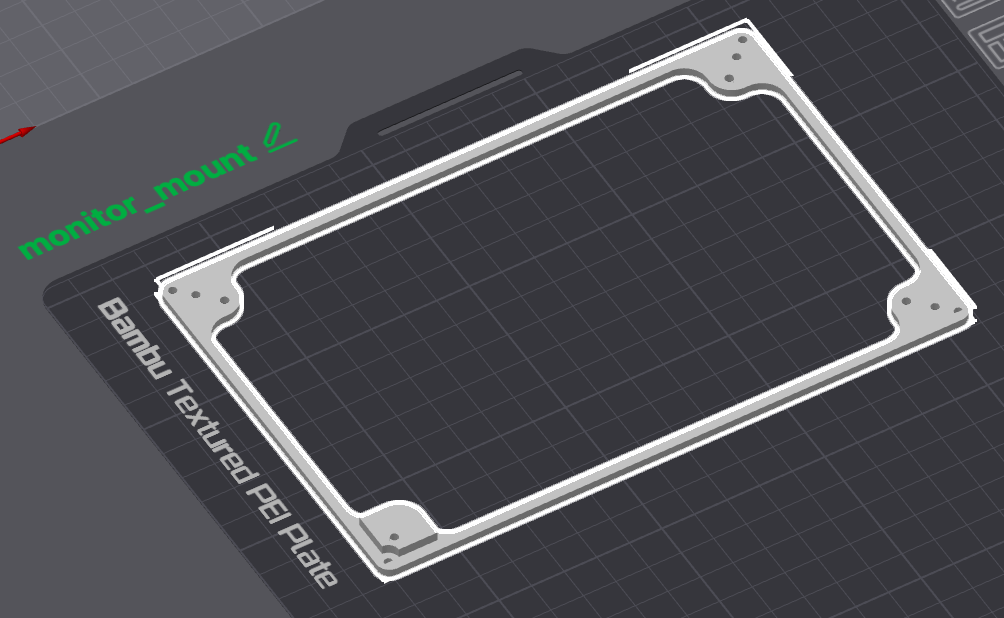
- Print out (4x)
monitor_standoffs.stl's.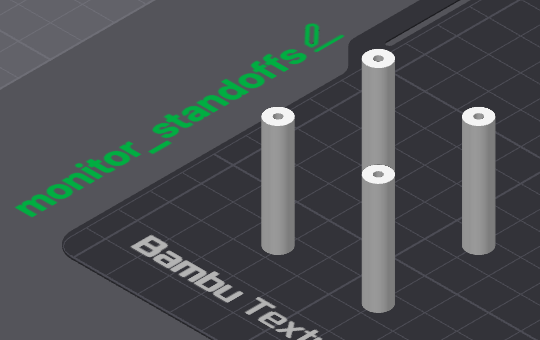
- Secure each
monitor_standoff.stlpart to the corners of themonitor_mount.stlpart with (1x) M2.5 bolt.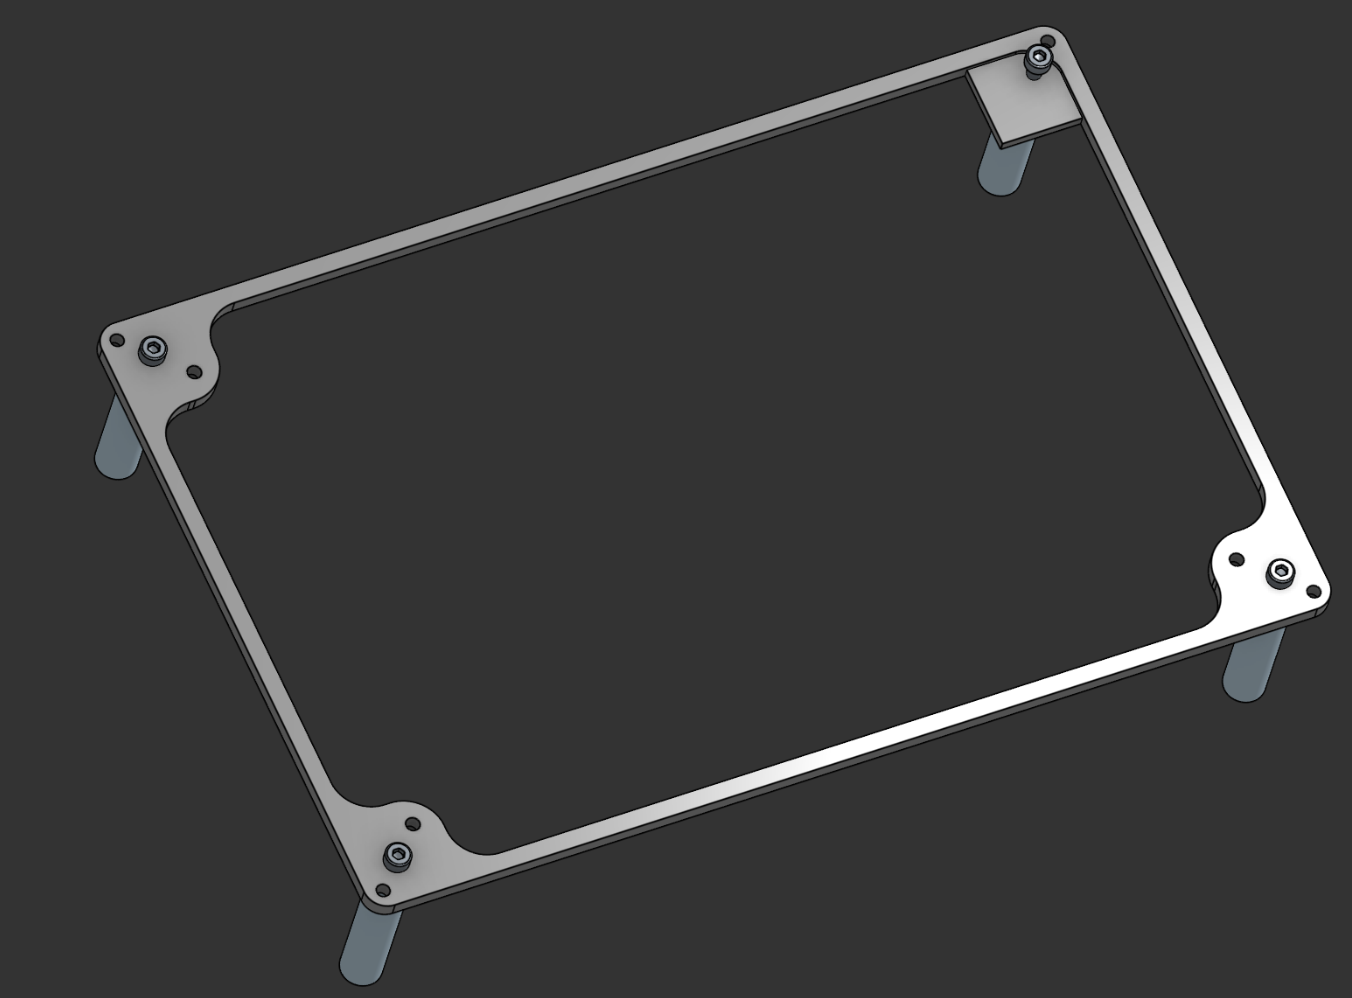
- Secure the monitor to the
monitor_mount.stlpart.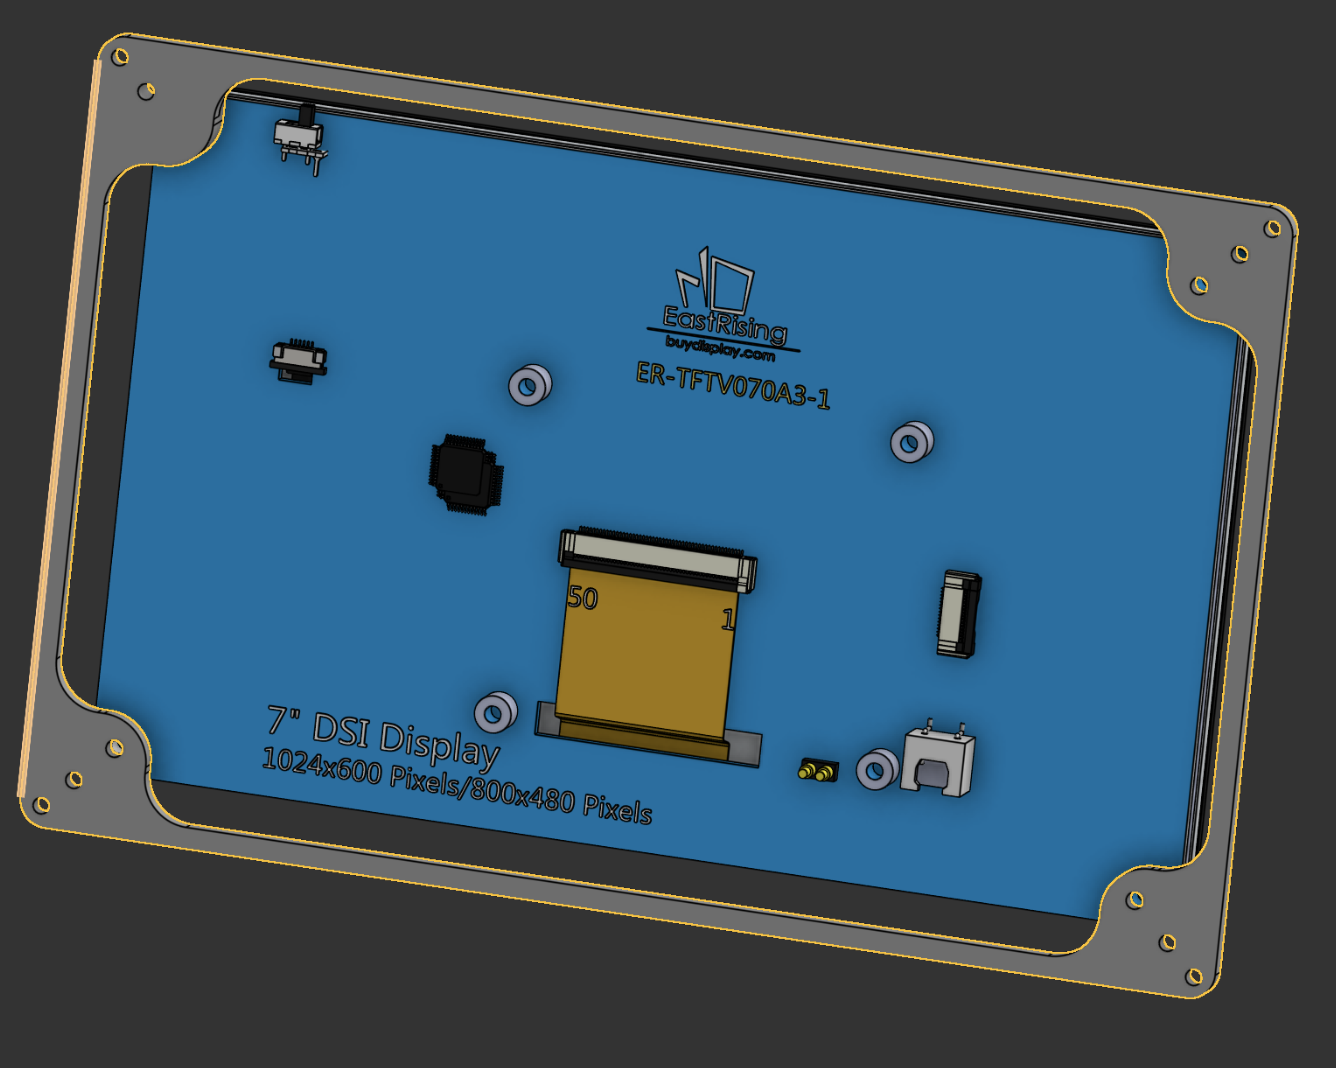
- Secure the raspberry Pi to the monitor.
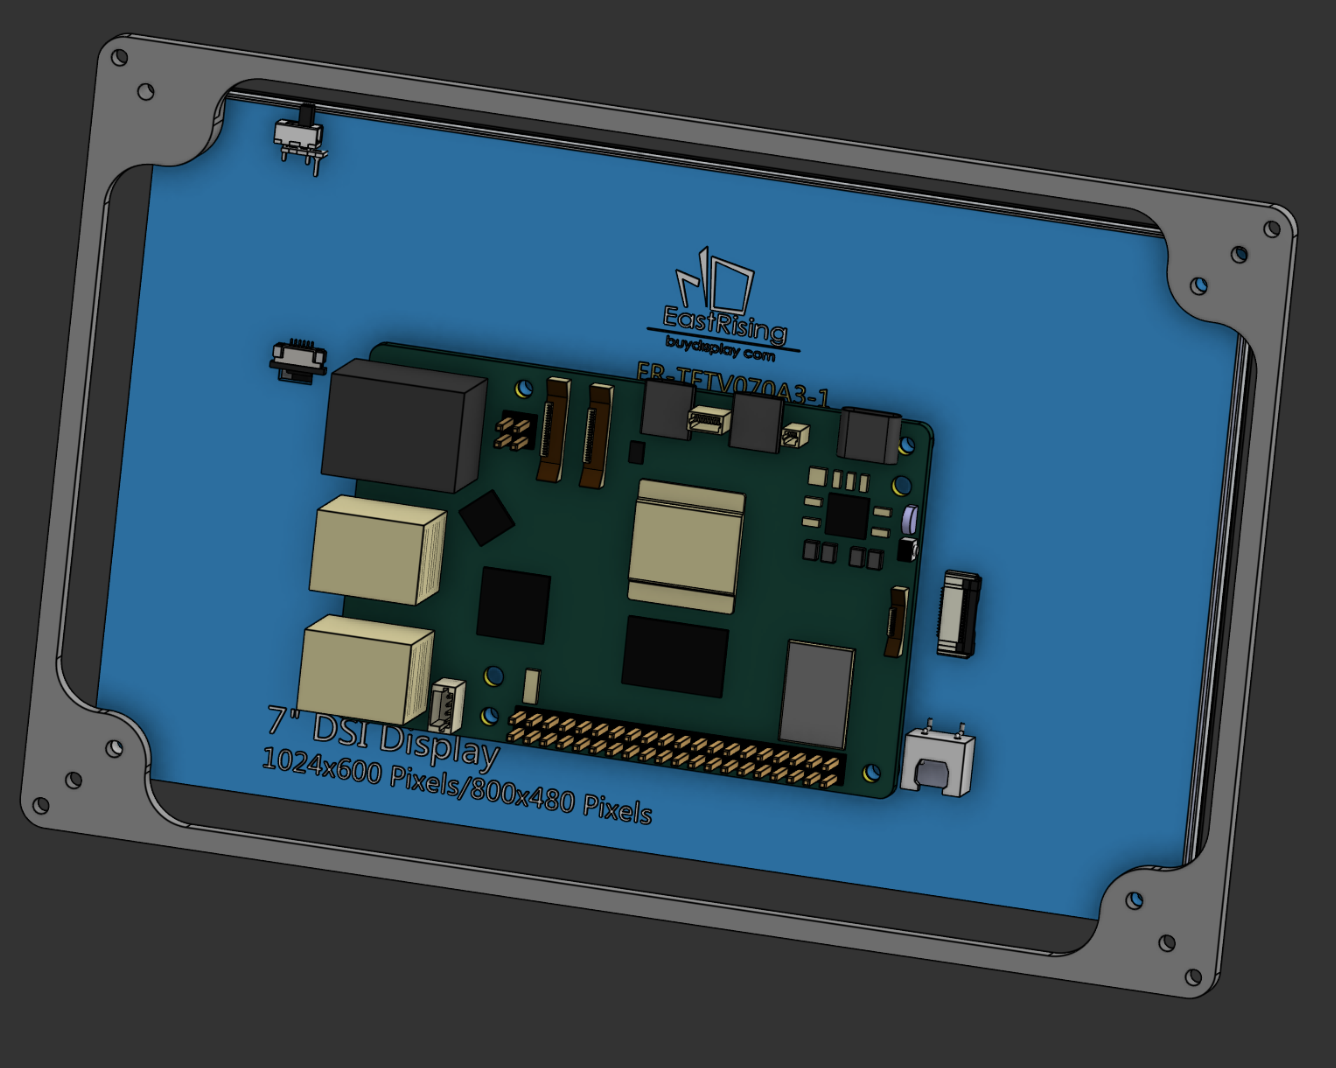
- Print out the
monitor_shell.stlpart. If you use the Raspberry Pi Touch Display 2 instead of the 7" HMTECH touchscreen, printTouch_Display2_shell.stlandTouch_Display2_backplate.stlinstead.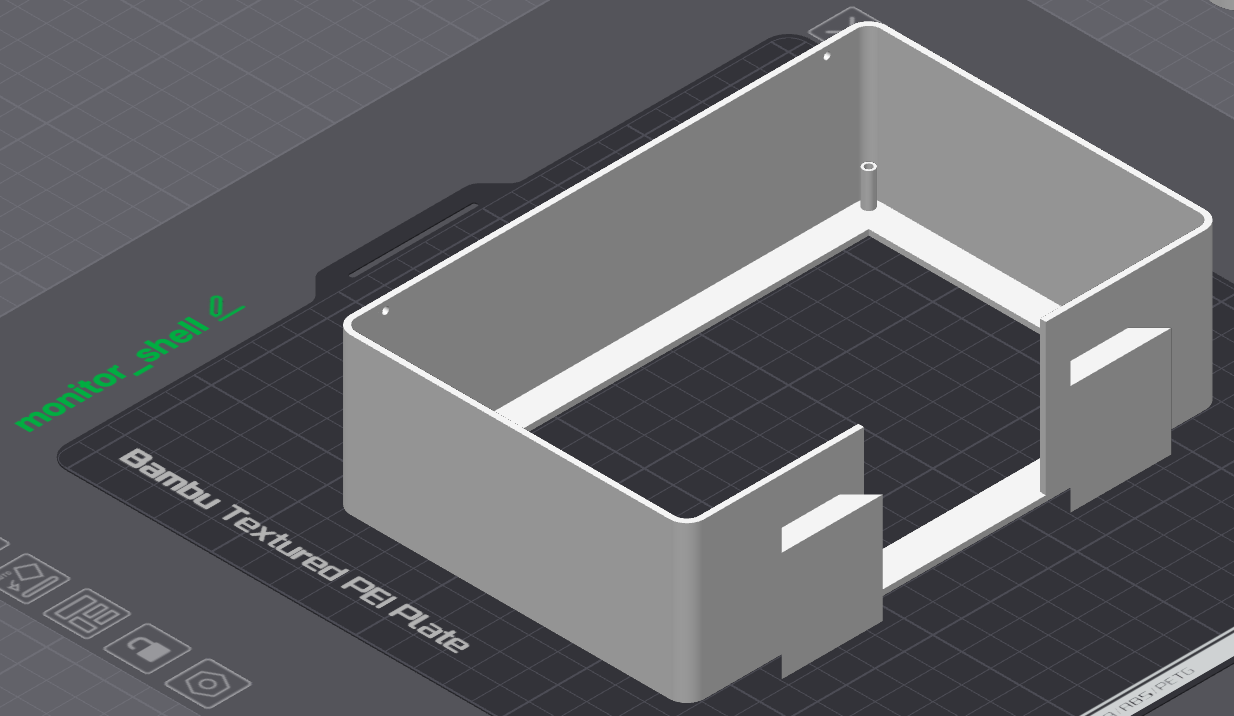
- Secure the monitor assembly inside the
monitor_shell.stlpart with (4x) M2.5 bolts at the corners.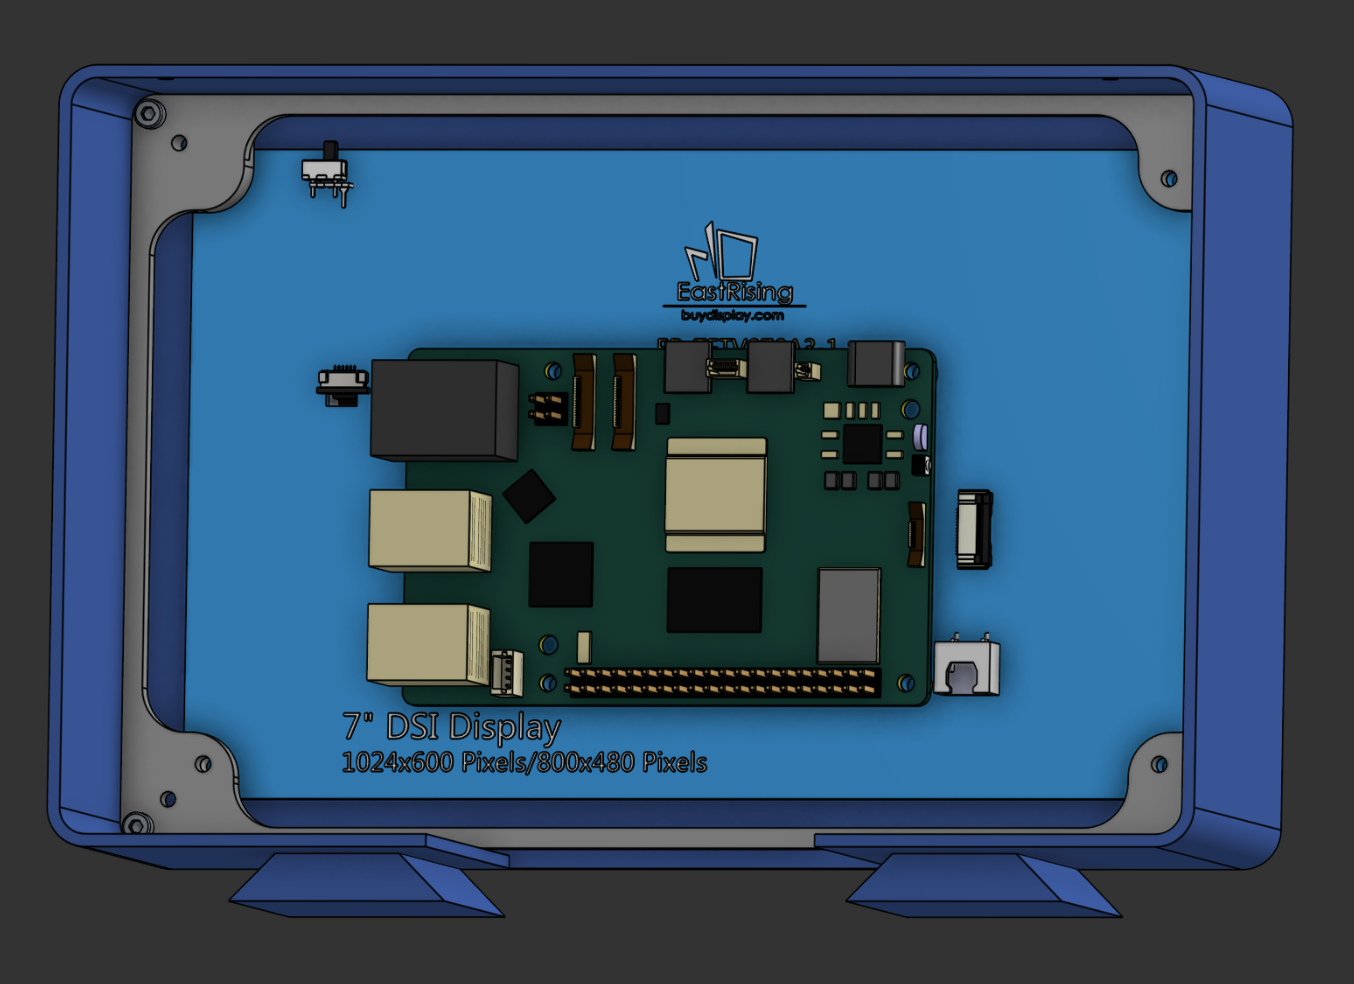
- Print out the
monitor_back.stlpart.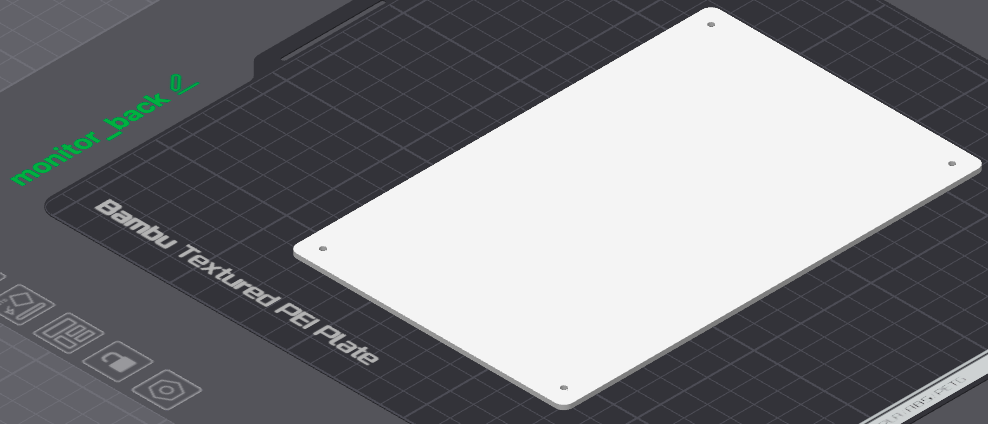
- Secure the
monitor_back.stlpart to themonitor_standoffs.stlparts with (4x) M2.5 bolts.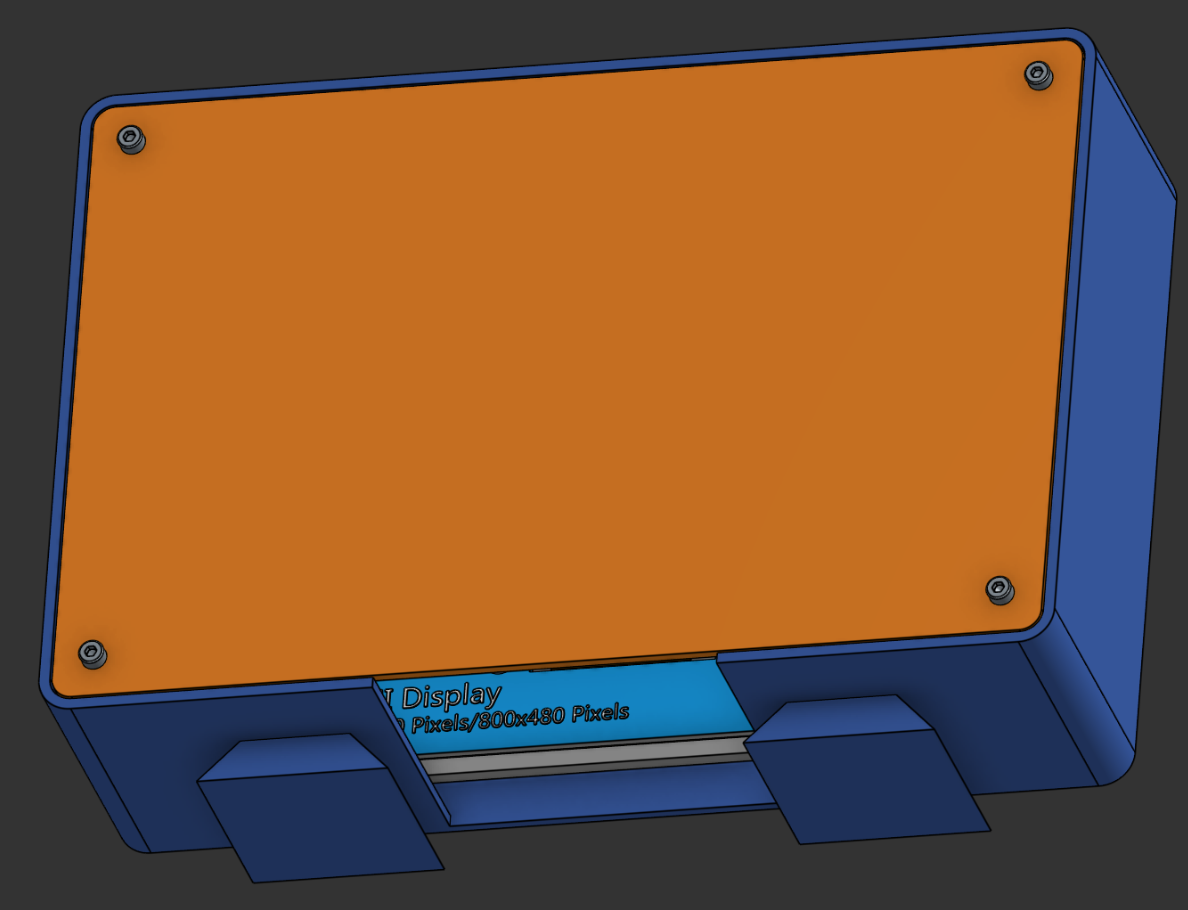
- Slide the whole assembly into the sensor housing assembly, using the dovetails to align everything together.
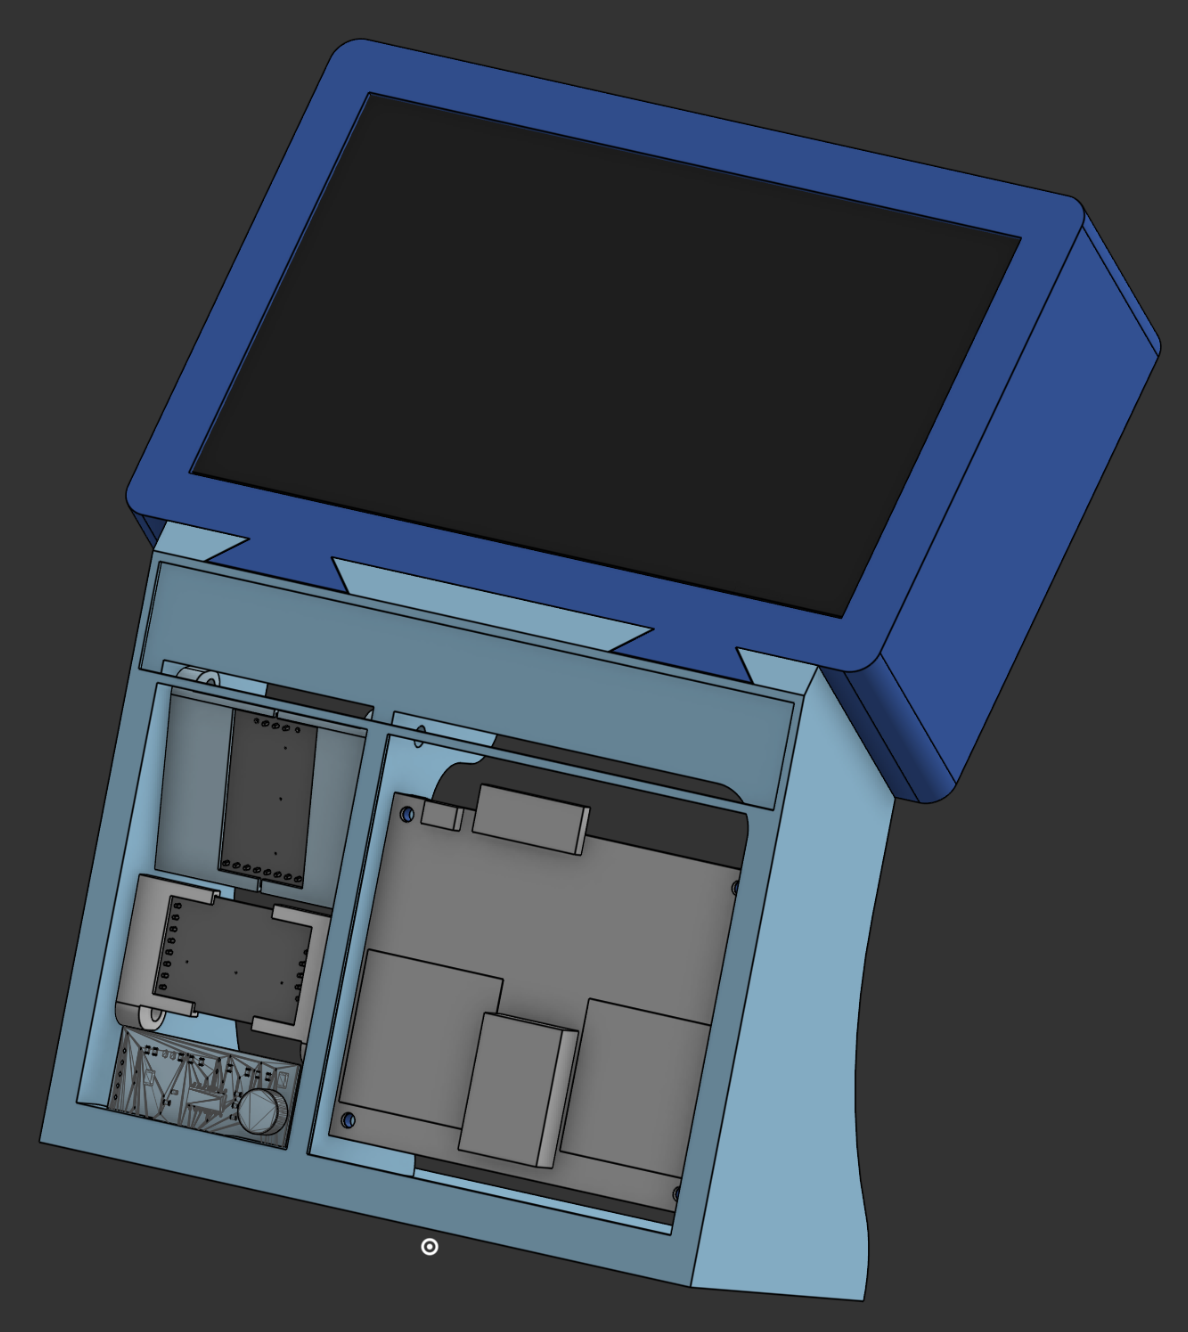
- Print out the
name_plate.stlfile.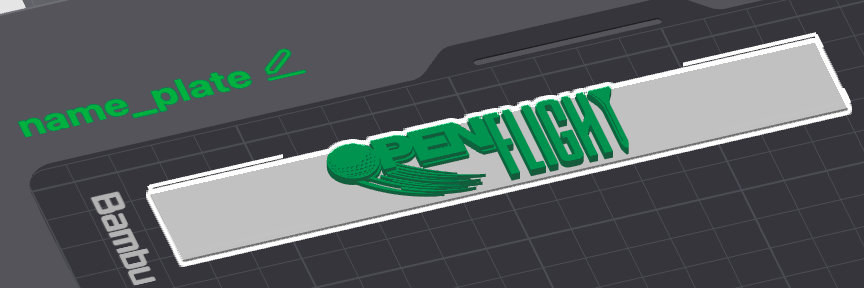
- Secure the
name_plate.stlfile to the front of the whole assembly with glue.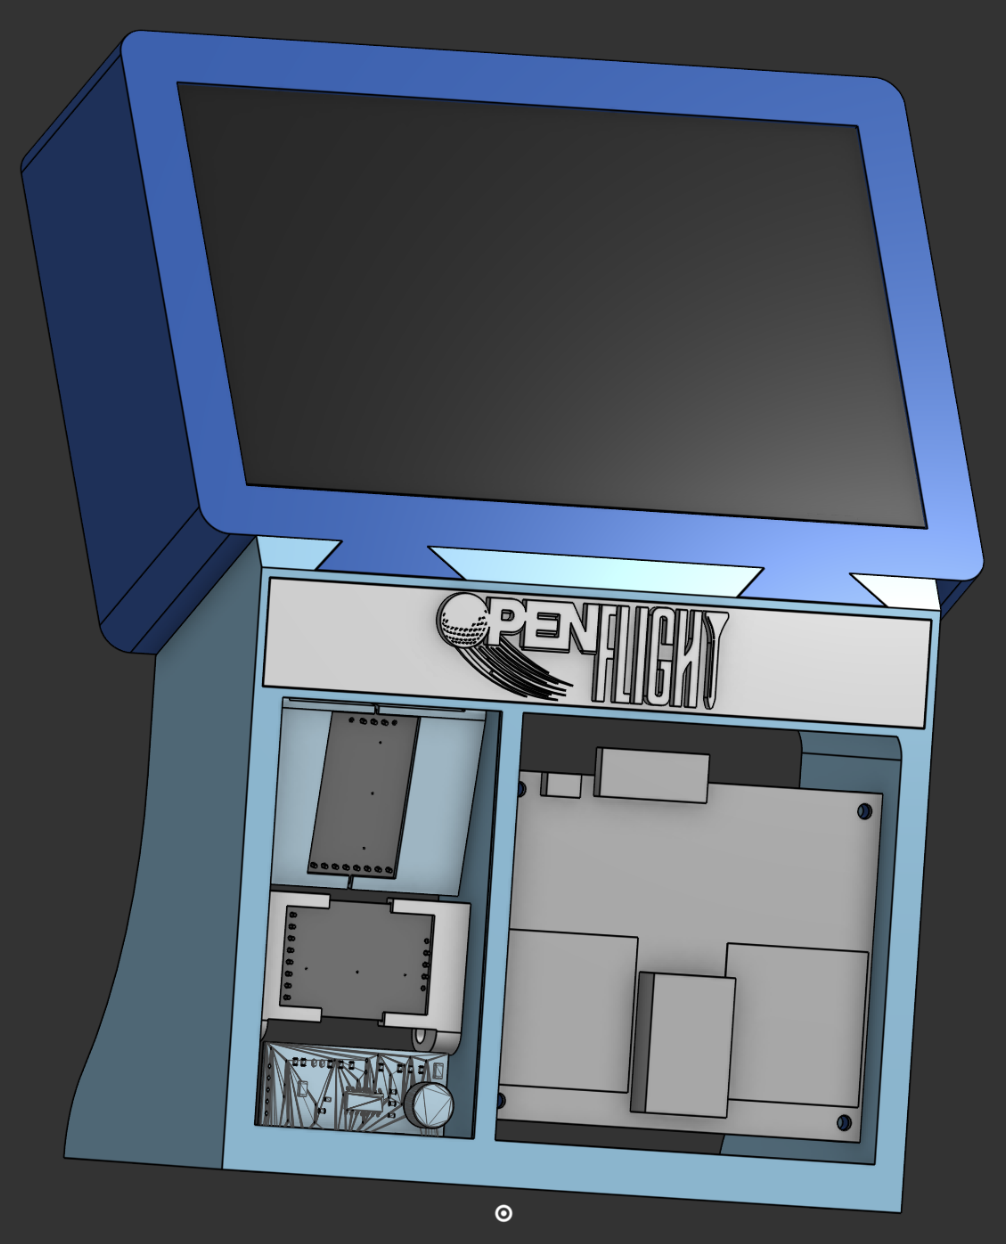
- Print out the
curvy_backplate.stlfile.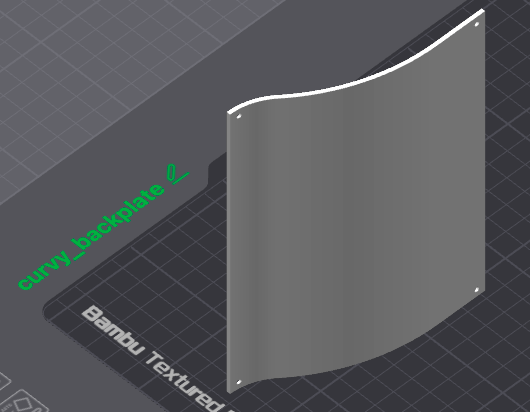
- Secure the
curvy_backplate.stlfile to the whole assembly with (4x) M2.5 bolts.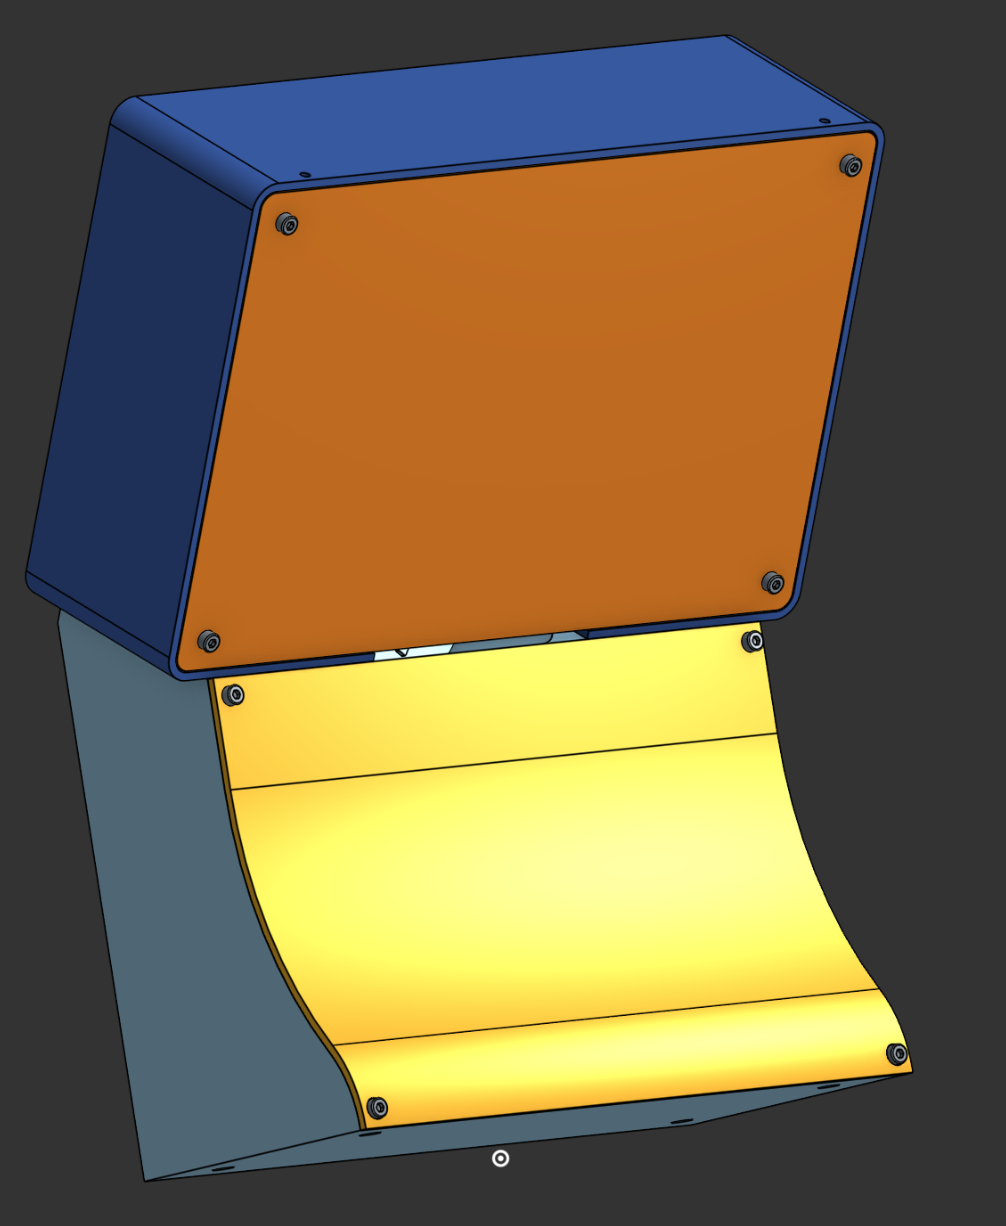
- Print out (4x)
case_foot.stlparts.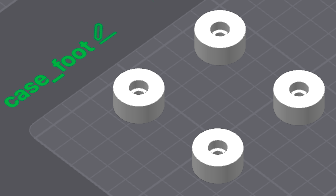
- Secure each foot to the bottom of the whole assembly with (4x) M5 Bolts.
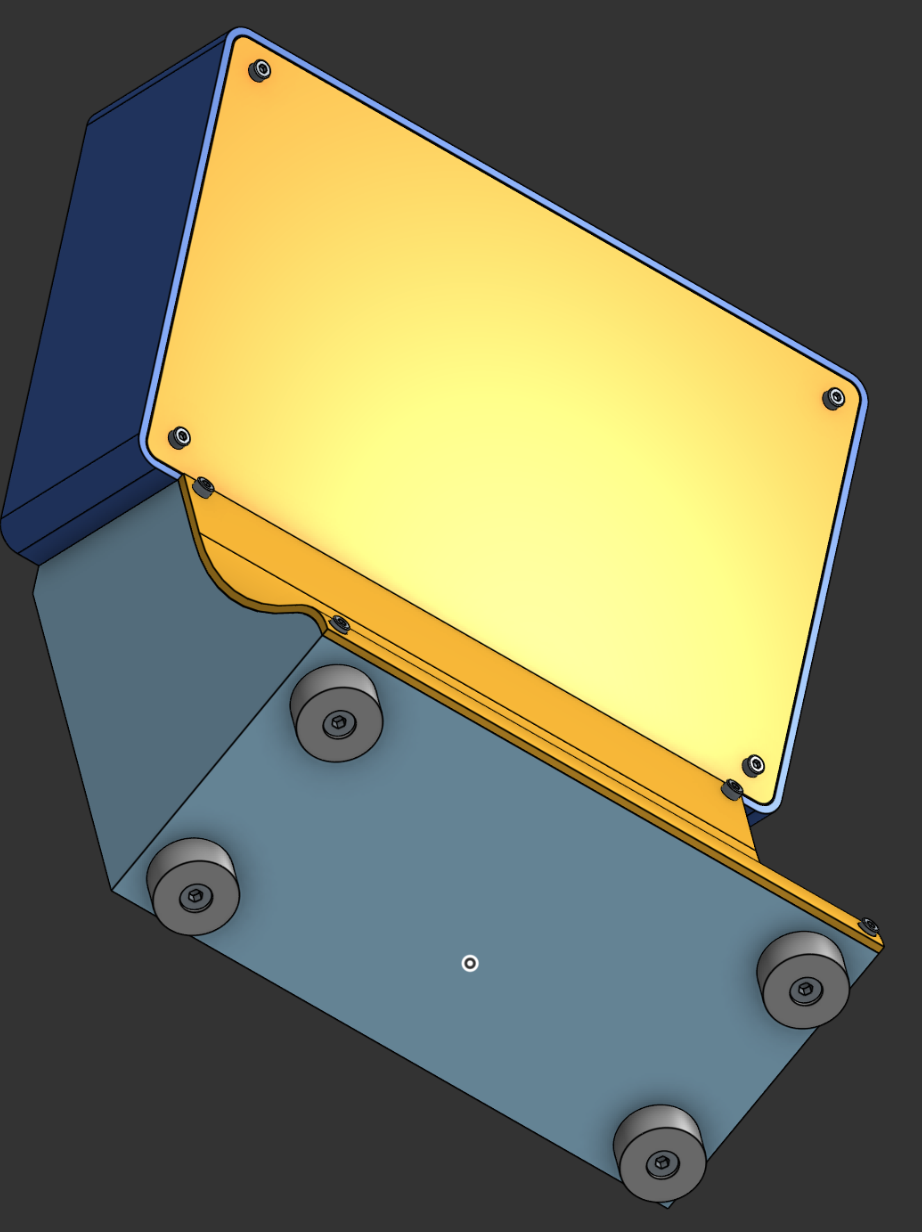
And that’s how you put together the 3d printed parts!